Homemade chocolate ice cream offers a delightful dessert experience, bringing pure bliss to your kitchen. Creating this indulgent treat from scratch is simpler than you might think. This article will walk you through the process, from selecting key ingredients to achieving that ideal scoopable texture, ensuring a rich, fresh chocolate taste every time.
Key Takeaways
- Making homemade ice cream guarantees a fresh, rich chocolate taste and control over ingredients.
- Success depends on selecting quality creamy dairy, rich cocoa, and having the right kitchen tools.
- Proper mixing, churning, and freezing are crucial steps for achieving an ideal scoopable texture.
- Enhance your ice cream by choosing high-quality cocoa and knowing when to add mix-ins like chocolate chips.
- Understand basic nutrition facts and effective storage methods for enjoying your treat longer.
Making ice cream at home is so rewarding. Fresh ingredients make a huge difference. You control all the sweetness. Enjoy a truly decadent dessert. Share it with loved ones.
Why Make Homemade Chocolate Ice Cream?
There’s an unparalleled joy and satisfaction that comes from creating your own desserts, and homemade chocolate ice cream is no exception. Beyond the sheer pleasure of crafting something delicious from scratch, making your own ice cream offers significant advantages over store-bought varieties. You gain complete control over the ingredients, allowing you to choose high-quality components, adjust sweetness levels to your preference, and avoid artificial flavors, colors, or excessive preservatives. This means a purer, more authentic flavor profile that truly captures the essence of rich cocoa.
Enjoy Fresh, Rich Chocolate Taste
The difference in taste between homemade and commercial chocolate ice cream is often night and day. When you make it yourself, the freshness of the dairy products and the intensity of the cocoa truly shine through. There’s no comparison to the vibrant, deep chocolate flavor that comes from freshly combined ingredients. This control also lets you select your preferred cocoa type, whether you lean towards a dark, bittersweet profile or a milder, sweeter milk chocolate experience. The absence of stabilizers or gums often found in store-bought versions results in a creamier, more natural mouthfeel. For another delightful homemade treat, consider making a snickerdoodle cobbler, showcasing how simple, quality ingredients can create culinary magic.
Simple Steps for Pure Bliss
Many people assume making ice cream is complex, but it’s surprisingly straightforward. The process involves a few simple steps: preparing the base, chilling it thoroughly, churning, and finally, freezing. Each step is manageable, even for novice cooks. The reward for these efforts is pure bliss – a dessert tailored exactly to your liking, bursting with fresh taste and a wonderfully smooth texture. Imagine serving a scoop of your own creation, knowing every ingredient that went into it. It’s not just a dessert; it’s an experience, a moment of culinary accomplishment that brings joy to both the maker and the eater.
What You Need: Key Ingredients
The foundation of outstanding homemade chocolate ice cream lies in the quality of its key ingredients. You don’t need a lengthy list, but focusing on fresh, high-quality components will elevate your final product from good to truly exceptional. Each ingredient plays a vital role in achieving that perfect creamy consistency and rich flavor. From the dairy that forms the base to the cocoa that gives it its soul, making thoughtful choices here will pay dividends in taste and texture.
Creamy Dairy and Sweeteners
For a truly luxurious ice cream, a combination of heavy cream and whole milk is generally recommended. The high fat content of heavy cream contributes significantly to the richness and smooth mouthfeel, while whole milk helps to lighten the texture slightly without compromising creaminess. Avoid low-fat alternatives if you’re aiming for traditional ice cream texture, as they can lead to an icier result. Granulated sugar is the most common sweetener, dissolving easily into the base. You might also consider a touch of corn syrup or invert sugar, which can help prevent ice crystal formation, though it’s not strictly necessary for a delicious result. The balance of sugar is critical; too little and the ice cream will be icy, too much and it may not freeze properly.
Rich Cocoa and Flavoring
The heart of your chocolate ice cream is, of course, the cocoa. Opt for a high-quality cocoa powder, as its flavor will be front and center. You can choose between natural cocoa powder (like Hershey’s unsweetened) or Dutch-processed cocoa powder. Natural cocoa is more acidic and provides a sharper, sometimes fruity chocolate flavor, while Dutch-processed cocoa is less acidic, darker, and offers a smoother, milder chocolate taste. For a deeper understanding of cocoa’s components, you can refer to the Wikipedia page on cocoa solids. A pinch of salt is crucial to enhance the chocolate flavor and balance the sweetness. Finally, pure vanilla extract adds a layer of warmth and complexity that complements the chocolate beautifully. Consider adding a dash of espresso powder to intensify the chocolate without making the ice cream taste like coffee.
Essential Kitchen Tools for Success
While the process of making homemade chocolate ice cream is relatively simple, having the right kitchen tools can significantly streamline the effort and improve the final outcome. These tools don’t have to be fancy or expensive, but they are designed to make each stage of the ice cream-making process more efficient and effective. Investing in a few key pieces will make your ice cream journey much more enjoyable and successful, ensuring pure bliss in every batch.
The most important piece of equipment is, undoubtedly, the ice cream maker. There are several types: freezer bowl models, which require the bowl to be frozen for at least 12-24 hours beforehand, and compressor models, which are self-refrigerating and can churn batch after batch without pre-freezing. Choose the model that best fits your budget and frequency of use. A heavy-bottomed saucepan is essential for preparing the ice cream base, ensuring even heating and preventing scorching. A good whisk is needed to thoroughly combine ingredients and ensure the cocoa powder is fully blended into the liquid without lumps. Measuring cups and spoons are, of course, fundamental for accurate ingredient ratios, which are critical for proper freezing and texture. You’ll also need a heatproof rubber spatula for scraping down the sides of the pan and transferring the base. Lastly, airtight freezer-safe containers are vital for storing your freshly churned ice cream, helping to prevent freezer burn and maintain that ideal scoopable texture.
Mixing Your Ice Cream Base
The quality of your ice cream begins long before it touches the churner; it starts with the careful preparation of the base. This initial step is where all the flavors meld, and the dairy and sweeteners are properly dissolved, setting the stage for a truly creamy and delicious final product. A well-mixed and thoroughly chilled base is the secret to preventing ice crystals and achieving a smooth, luxurious texture.
Combine Wet and Dry Smoothly
Begin by combining your wet ingredients—heavy cream and whole milk—in a heavy-bottomed saucepan. In a separate bowl, whisk together your dry ingredients: granulated sugar, cocoa powder, and a pinch of salt. Gradually add the dry mixture to the wet ingredients in the saucepan, whisking continuously to prevent lumps. Place the saucepan over medium-low heat, stirring constantly with a whisk or a heatproof spatula. The goal is to gently warm the mixture until the sugar is fully dissolved and the ingredients are well integrated. Do not bring it to a rolling boil; just enough heat to ensure everything is smoothly incorporated. This gentle heating process is crucial for a consistent and creamy base. Once the sugar has dissolved and the mixture is smooth, remove it from the heat.
Ensure Cocoa is Fully Blended
One common pitfall in making chocolate ice cream is having unblended pockets of cocoa powder. To avoid this, ensure you sift your cocoa powder before adding it to the mixture. As you heat the base, pay close attention to the bottom and sides of the saucepan, using your whisk or spatula to scrape and stir thoroughly. Cocoa powder can sometimes be stubborn and tends to clump, so persistent, gentle stirring is key. You want a uniformly colored, smooth liquid with no visible specks of dry cocoa. Once satisfied with the smoothness, immediately transfer the hot base to a clean bowl or container, cover it, and refrigerate it for at least 4 hours, or preferably overnight. Chilling the base completely is absolutely essential, as a cold base churns faster and results in a much creamier ice cream, contributing to that perfect scoopable texture.
Churning Your Chocolate Ice Cream
Churning is the magical stage where your chilled liquid base transforms into soft, fluffy ice cream. This process introduces air into the mixture while simultaneously freezing it, preventing the formation of large ice crystals and creating the smooth, creamy texture we all desire. Understanding your ice cream maker and knowing when to add mix-ins are key to achieving `pure bliss` in every scoop.
Using the Ice Cream Maker
Before you begin, ensure your ice cream maker’s freezer bowl has been pre-chilled for the recommended time (typically 12-24 hours) or that your compressor model is ready to go. Assemble your machine according to the manufacturer’s instructions. Once assembled, pour your thoroughly chilled chocolate ice cream base into the frozen bowl. Turn on the machine and let it churn. The churning time will vary depending on your specific model and the initial temperature of your base, but it usually takes between 20 to 35 minutes. As the mixture churns, it will gradually thicken, changing from a liquid to a soft-serve consistency. You’ll know it’s ready when it has expanded in volume and has the texture of soft-serve ice cream or frozen yogurt. It should be thick enough to hold its shape but still pliable.
When to Add Chocolate Chips
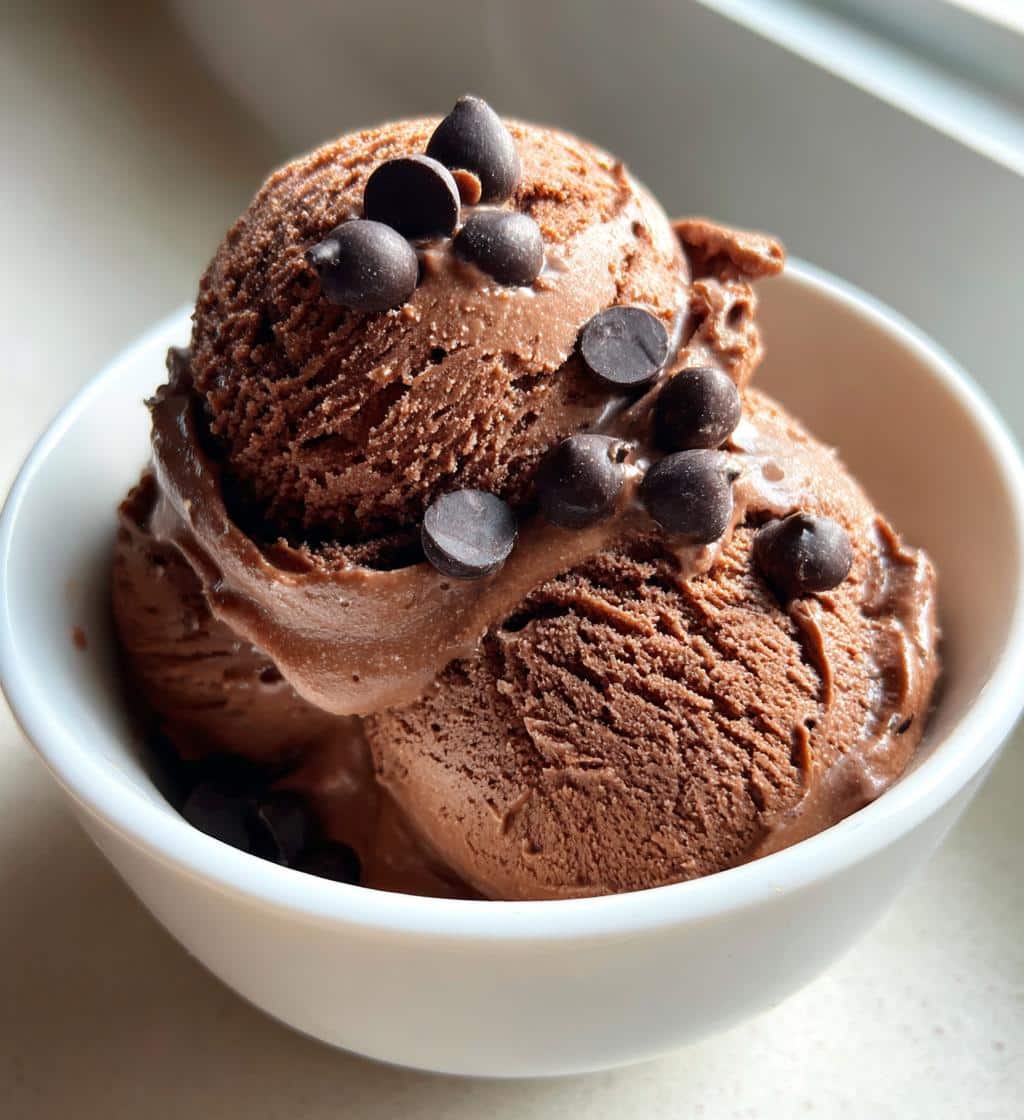
If you plan to add mix-ins like chocolate chips, chopped nuts, or swirls of caramel, the timing is crucial. These additions should be incorporated towards the end of the churning cycle, typically during the last 5 minutes. Adding them too early can cause them to settle at the bottom of the bowl or get excessively broken up. Wait until the ice cream has reached a soft-serve consistency, then gently add your desired amount of chocolate chips or other mix-ins through the opening in the lid while the machine is still running. Allow them to churn for just a few more minutes, ensuring they are evenly distributed throughout the batch. This method ensures your `chocolate chips` remain distinct and well-incorporated, adding delightful textural contrast to your `homemade chocolate ice cream`.
Freezing for Perfect Ice Cream
After churning, your homemade chocolate ice cream will have a soft, almost milkshake-like consistency. While delicious, it’s not yet the firm, scoopable ice cream you typically expect. This final freezing stage, often called “ripening,” is critical for developing the ideal texture and allowing the flavors to fully mature. Proper storage during this phase is just as important as the churning itself.
How to Properly Store It
Once your ice cream has finished churning and has reached a soft-serve consistency, immediately transfer it to an airtight freezer-safe container. This could be a shallow glass dish, a specialized ice cream storage container, or a plastic tub. The goal is to minimize exposure to air, which can cause ice crystals to form and lead to freezer burn. To further protect your `homemade chocolate ice cream`, press a piece of parchment paper or plastic wrap directly onto the surface of the ice cream before sealing the container with its lid. This creates an additional barrier against air and moisture. Ensure the container is tightly sealed to maintain freshness and prevent any absorption of freezer odors. For more kitchen and dessert ideas, you can always visit CarinaRecipes on Pinterest.
Achieving Ideal Scoopable Texture
Place the sealed container in the coldest part of your freezer. Avoid placing it near the door, where temperature fluctuations are more common. Allow the ice cream to harden for at least 4-6 hours, or preferably overnight, for the best results. During this time, the ice cream will firm up to the familiar texture you love, making it much easier to scoop. The proper freezing allows the fats to solidify and the remaining water to crystallize into smaller, finer particles, resulting in a smooth, `scoopable texture` that melts beautifully in your mouth. If your freezer is particularly cold, you might need to let the ice cream sit at room temperature for a few minutes before serving to achieve the perfect consistency for easy scooping.
Quick Tips for Best Results
Making truly outstanding homemade chocolate ice cream is an art that can be refined with a few simple tips. These pointers focus on enhancing flavor, optimizing texture, and ensuring that every serving is a delightful experience. Paying attention to these small details can make a big difference in the quality of your finished dessert, turning a good batch into an exceptional one.
Choosing High-Quality Cocoa
The flavor of your chocolate ice cream is directly proportional to the quality of your cocoa powder. Don’t skimp here. Invest in a premium cocoa powder, whether it’s Dutch-processed for a milder, darker chocolate flavor, or natural for a more intense, slightly acidic profile. Experiment with different brands and types to find your personal favorite. High-quality cocoa provides a deeper, more nuanced chocolate taste, free from any bitterness or off-notes sometimes found in cheaper varieties. Using a high-quality cocoa ensures a truly `rich cocoa` flavor that will impress.
Serving Ice Cream Just Right
Even the best homemade ice cream can be diminished by improper serving. For an ideal `scoopable texture`, remove your ice cream from the freezer about 5-10 minutes before serving. This allows it to soften slightly, making it easier to scoop and enhancing its creamy mouthfeel. Use a warmed ice cream scoop for effortless portioning. Consider serving it in chilled bowls to keep it from melting too quickly. Garnish with fresh berries, a drizzle of chocolate sauce, or a sprinkle of sea salt to elevate the presentation and complement the flavors. For more visual inspiration on serving delightful desserts, be sure to check out our creations on Instagram.
The Best Homemade Chocolate Ice Cream Recipe
Creating `the best homemade chocolate ice cream` is an incredibly rewarding experience. This recipe focuses on achieving a super creamy texture and a deep, decadent chocolate flavor, making it a perfect treat for any occasion. Follow these steps precisely for pure bliss.
Full Ingredients List
- 2 cups heavy cream
- 1 cup whole milk
- ¾ cup granulated sugar
- ½ cup unsweetened Dutch-processed cocoa powder (for rich, dark chocolate flavor)
- ¼ teaspoon salt
- 1 teaspoon pure vanilla extract
- ½ cup chocolate chips (optional, for mix-in)
Step-by-Step Instructions
- Prepare the Base: In a medium, heavy-bottomed saucepan, combine the heavy cream and whole milk.
- Combine Dry Ingredients: In a separate bowl, whisk together the granulated sugar, cocoa powder, and salt until well combined and lump-free.
- Heat and Dissolve: Gradually add the dry mixture to the cream and milk in the saucepan. Place the saucepan over medium-low heat, stirring constantly with a whisk or spatula. Heat gently until the sugar and cocoa powder are fully dissolved and the mixture is smooth, about 5-7 minutes. Do not boil.
- Chill the Base: Remove the saucepan from the heat and stir in the vanilla extract. Pour the `creamy dairy` base into a clean bowl or container. Cover tightly with plastic wrap, pressing it directly onto the surface to prevent a skin from forming. Refrigerate for at least 4 hours, or ideally overnight, until thoroughly chilled.
- Churn the Ice Cream: Once the base is thoroughly chilled, pour it into your ice cream maker’s frozen canister or bowl (ensure it’s prepared according to manufacturer’s instructions). Churn according to your machine’s directions, typically 20-35 minutes, until the ice cream has a soft-serve consistency.
- Add Mix-ins (Optional): If adding chocolate chips, do so during the last 5 minutes of churning.
- Freeze for Hardening: Transfer the soft ice cream to an airtight freezer-safe container. Press a piece of parchment paper or plastic wrap directly onto the surface of the ice cream, then seal the container with a lid. Freeze for at least 4-6 hours, or overnight, to achieve a firm, `scoopable texture`.
- Serve and Enjoy: Remove from the freezer 5-10 minutes before serving for optimal texture.
Understanding Nutrition Facts for Ice Cream
While homemade chocolate ice cream is undeniably a treat, understanding its nutritional profile can help you enjoy it mindfully. Nutritional values can vary significantly based on the specific ingredients used, such as the fat content of your dairy, the amount of sugar, and any mix-ins like `chocolate chips`. Making your own allows for some control over these aspects, letting you tailor the ice cream to your dietary preferences or needs.
Calories and Sugar Content
A typical serving of `homemade chocolate ice cream` (around ½ cup or 100g) can range from 200 to 300 calories, depending largely on the cream-to-milk ratio and the amount of added sugar. Sugar content is also a significant factor, often contributing 20-30 grams per serving. While sugar provides sweetness and helps with texture, it also adds calories. If you’re looking to reduce sugar, you might experiment with sugar substitutes or slightly decrease the amount in the recipe, though this can affect the ice cream’s texture and freezing point. For a general understanding of ice cream, its history, and nutritional aspects, consider checking out the Ice cream Wikipedia page.
Fat, Protein, and Other Details
The fat content in `creamy dairy` ice cream is usually relatively high, ranging from 10-20 grams per serving, primarily from the heavy cream. This fat is crucial for the rich flavor and smooth texture. Protein content is modest, typically 3-5 grams per serving, coming from the milk solids. You’ll also find small amounts of calcium and other vitamins and minerals. Homemade ice cream often contains fewer artificial additives compared to store-bought versions, which can be a plus for those concerned about ingredient lists. Keep in mind that these are general estimates; exact figures require precise measurement and calculation based on your specific ingredients. Enjoying this indulgent treat in moderation is key to a balanced diet.
Serving Ideas and Pairings
Homemade chocolate ice cream is a star on its own, but it truly shines when paired with complementary flavors and textures. Elevating your serving game can turn a simple dessert into a memorable culinary experience, whether you’re enjoying it solo or sharing it with guests. The possibilities are vast, ranging from classic combinations to more adventurous pairings.
One of the most classic ways to serve chocolate ice cream is atop warm, gooey brownies or a slice of rich chocolate cake. The contrast of hot and cold, and the double dose of chocolate, is simply irresistible. For something a little different, consider pairing it with a light, fruity dessert, like a bowl of fresh berries (strawberries, raspberries, or cherries work beautifully) or a slice of fruit pie. The tanginess of the fruit cuts through the richness of the chocolate perfectly. A drizzle of caramel sauce, a sprinkle of toasted nuts (like pecans or almonds), or a dollop of fresh whipped cream can add extra layers of flavor and texture. Coffee lovers might enjoy a scoop floating in a hot espresso for an affogato experience, or blended into a thick milkshake. You can also get creative and serve it alongside other homemade sweets like peanut butter brownie swirl cookies or a slice of quick Italian cream cake for a varied dessert platter. For more dessert inspiration, visit our dedicated desserts category.
Storing Leftover Ice Cream Well
While fresh `homemade chocolate ice cream` is often devoured quickly, knowing how to properly store any leftovers is crucial for maintaining its quality and `fresh taste`. Improper storage can lead to freezer burn, crystal formation, and a significant decline in texture and flavor. With a few simple techniques, you can keep your delicious creation tasting great for longer.
Keeping It Fresh in Freezer
The key to storing ice cream well is to minimize its exposure to air and maintain a consistent, cold temperature. Always transfer any leftover ice cream back into an airtight freezer-safe container as quickly as possible. The more time it spends at room temperature, the more it will melt and then refreeze, leading to larger, undesirable ice crystals. Before sealing the container with its lid, place a piece of plastic wrap or parchment paper directly on the surface of the ice cream. Gently press it down to remove any air bubbles. This creates an additional barrier that prevents ice crystals from forming on the surface and helps to lock in moisture and flavor. Store the container in the coldest part of your freezer, typically towards the back, rather than in the door, where temperatures fluctuate more. Properly stored, `homemade chocolate ice cream` can maintain its quality for up to two weeks. Beyond that, while still safe to eat, its texture and flavor may begin to degrade.
Common Questions About This Treat
As with any homemade delicacy, questions often arise, especially for those new to making `homemade chocolate ice cream`. Addressing these common inquiries can help clarify potential issues, offer troubleshooting tips, and inspire confidence in your ice cream-making endeavors. From texture concerns to ingredient substitutions, having quick answers can make the process smoother and more enjoyable, leading to consistently delicious results.
Why is my ice cream icy? Icy ice cream is often due to insufficient fat content, too little sugar, or improper churning/freezing. Ensure you’re using full-fat dairy, that all sugar is dissolved, and that your base is thoroughly chilled before churning. Quick transfer to a deep freeze in an airtight container also helps. Can I make this recipe without an ice cream maker? While an ice cream maker yields the best results, you can try the “no-churn” method by whipping heavy cream to stiff peaks and folding it into a sweetened condensed milk and cocoa mixture, then freezing. The texture will be different but still delicious. How long does homemade ice cream last? When stored properly in an airtight container with a surface cover, homemade ice cream can last in the freezer for up to 2 weeks. After that, quality may decline, though it often remains safe to eat for longer. Can I use different types of chocolate? Absolutely! While cocoa powder is standard, you can melt unsweetened or semi-sweet chocolate into the warm base for a different depth of flavor. Adjust sugar accordingly. What if my ice cream is too hard to scoop? This usually means your freezer is very cold. Allow the container to sit on the counter for 5-10 minutes before scooping. A warmed scoop also helps significantly in achieving that perfect `scoopable texture`.