Red Velvet Cupcakes are a classic decadent dessert, beloved for their striking color and rich, tender crumb. This baking guide will help you create perfect homemade treats, from selecting the right ingredients to mastering the perfect cream cheese frosting. Get ready to bake moist cupcakes that impress everyone with their vibrant look and delicious flavor.
Key Takeaways
- Gather quality dry and wet ingredients for best results.
- Properly prepare your workspace and monitor oven temperature.
- Gently combine wet and dry elements for optimal batter.
- Bake to perfection and allow cupcakes to cool completely.
- Frost with rich cream cheese and store properly for freshness.
Achieving moist red velvet cupcakes is simple. Precision in mixing makes all the difference. Proper baking prevents dryness. Cooling fully enhances texture. Frosting adds the perfect finish.
Essential Ingredients for Cupcakes
Crafting delicious red velvet cupcakes begins with selecting the right ingredients. The unique flavor and texture of these beloved treats come from a careful balance of pantry staples. Understanding each component’s role is crucial for baking success. For a truly authentic red velvet experience, ensure all your ingredients are fresh and at room temperature, especially the wet ones, as this helps them emulsify better and contributes to a smoother, more uniform batter.
Dry Goods and Leavening Agents
Your foundation for these decadent red velvet cupcakes starts with the dry ingredients. All-purpose flour provides the structure, while granulated sugar adds sweetness and helps with moisture retention. A small amount of unsweetened cocoa powder is distinctive to red velvet, contributing a subtle chocolate flavor that complements the red color, not overwhelms it. For leavening, we rely on baking soda, which reacts with acidic buttermilk and vinegar to create a tender crumb and light texture. A pinch of salt balances the flavors. For a deeper understanding of red velvet’s culinary origins and the traditional ingredients involved, you can consult the Wikipedia page on Red Velvet Cake, which details its history and evolution.
Wet Ingredients for Rich Flavor
The wet ingredients are paramount for the rich flavor and moist texture of your red velvet cupcakes. Buttermilk is a cornerstone, providing tanginess and activating the baking soda for lift. Vegetable oil (or melted butter for an even richer taste) contributes to the moistness, ensuring a tender bite. Large eggs add structure, richness, and binding properties to the batter. Pure vanilla extract enhances the overall flavor profile, adding warmth and depth. Finally, the iconic vibrant hue comes from red food coloring, which is added to the wet mixture to ensure even distribution and a striking visual appeal. Opt for a high-quality gel food coloring for the best results and deepest color without thinning the batter.
Preparing Your Baking Workspace
Before you even think about mixing, setting up an organized baking workspace is key to a smooth and enjoyable experience. This preparation minimizes stress and helps ensure consistent results. Clear your countertops, gather all your ingredients and tools, and measure everything out in advance – a practice known as mise en place. This methodical approach is especially helpful when baking, allowing you to focus on the mixing and baking process without interruptions. Having everything ready means you won’t scramble for a forgotten item mid-recipe, which could affect the final outcome of your delicious red velvet recipe.
Oven Temperature and Cupcake Liners
Preheating your oven accurately is perhaps the most critical step in preparing your workspace. An oven that isn’t at the correct temperature can lead to uneven baking, sunken cupcakes, or dry edges. Always preheat your oven to the specified temperature (usually 350°F or 175°C) for at least 15-20 minutes before placing your cupcakes inside. This ensures the oven has reached and stabilized at the desired heat. Simultaneously, prepare your muffin tins. Line each well with paper cupcake liners. Good quality liners not only make for easy cleanup but also help the cupcakes maintain their shape and prevent sticking. If you’re concerned about liners peeling away from the baked cupcakes, try using foil liners or baking your cupcakes at a slightly lower temperature for a longer period. Ensuring your oven and pans are ready sets the stage for baking success.
Mixing Dry Ingredients Together
The initial step in creating your red velvet cupcake batter is meticulously combining the dry ingredients. This process is more than just throwing everything into a bowl; it’s about achieving a homogeneous mixture that will contribute to the cupcakes’ structure and tender crumb. When dry ingredients are properly blended, it ensures that leavening agents are evenly distributed, leading to a consistent rise and texture across all your delicious homemade treats. Taking the time to do this correctly prevents pockets of unmixed ingredients, which can result in an uneven bake or flavor inconsistencies in your final product. This attention to detail is a hallmark of truly amazing baking tips.
Combine Flour, Sugar, Baking Essentials
Start by sifting together your all-purpose flour, granulated sugar, unsweetened cocoa powder, baking soda, and salt into a large mixing bowl. Sifting is an often-skipped but highly recommended step. It breaks up any lumps in the flour and cocoa, ensuring a smoother batter. More importantly, it aerates the dry ingredients, making them lighter and easier to combine with the wet components later. This aeration also contributes to a more tender and delicate texture in the finished cupcakes. Once sifted, use a whisk to gently combine everything further. This secondary mixing ensures that the baking soda and cocoa are thoroughly and evenly dispersed throughout the flour and sugar. A well-combined dry mix is crucial for the leavening to work effectively and for the subtle chocolate flavor to be present in every bite of your moist cupcakes. Proper preparation at this stage sets the foundation for a flawless red velvet recipe.
Whisking Wet Ingredients Smoothly
The wet ingredients are the heart of the red velvet cupcake’s moisture and distinctive flavor. Achieving a smooth, well-emulsified wet mixture is crucial before combining it with the dry ingredients. This step ensures that all the flavor components are evenly distributed and that the rich liquids can properly hydrate the flour, leading to a tender and consistent crumb. Any lumps or unevenness in this stage can translate to a less desirable texture in the final baked goods. Pay close attention to the order and technique of mixing to get the best results for your decadent dessert. This careful blending is one of the key baking tips that elevate your red velvet recipe.
Oil, Buttermilk, Eggs, Vanilla
In a separate large bowl, begin by whisking together the vegetable oil (or melted butter), buttermilk, and large eggs. It’s important that these ingredients are at room temperature to ensure they combine seamlessly without curdling or separating. Room temperature ingredients emulsify much better, creating a smoother, more cohesive mixture. Add the pure vanilla extract next, whisking until everything is thoroughly blended and smooth. The goal here is a uniform liquid mixture, free of streaks or separate layers. This initial blend creates a stable base that will easily incorporate the remaining flavor components, guaranteeing an even flavor throughout your homemade treats. Taking your time with this step is vital for the overall success of the red velvet recipe.
Add Cocoa and Red Color
Once your primary wet ingredients are smooth, it’s time to introduce the elements that give red velvet its iconic character. First, whisk in the unsweetened cocoa powder. While a small amount, it contributes a distinct, subtle chocolate note. Next, and most importantly, add the red food coloring. For the most vibrant and true red color, gel food coloring is highly recommended over liquid, as it offers a much more concentrated pigment without adding excessive moisture to the batter. Gradually add the red food coloring, whisking thoroughly after each addition, until you achieve your desired shade of deep red. This ensures the color is evenly distributed and prevents patchy results. The combination of cocoa and red color in the wet mix creates the signature look and depth of flavor that defines a classic red velvet recipe.
Create Your Red Velvet Batter
The moment of truth in any baking process is when the wet and dry components come together. For red velvet cupcakes, this step requires a gentle hand and careful attention to ensure a perfectly smooth and airy batter. Overmixing is the arch-nemesis of tender baked goods, leading to tough and dense results. The goal is to just combine the ingredients until no streaks of flour remain. This delicate balance ensures that the gluten in the flour is not overdeveloped, which is crucial for achieving that signature soft, moist crumb. Mastering this stage is a fundamental part of any good red velvet recipe, setting the stage for perfectly baked moist cupcakes.
Blend Wet and Dry Gently
With your dry ingredients thoroughly whisked and your wet mixture smooth and vibrantly red, it’s time to combine them. Gradually add the dry ingredients to the wet ingredients, mixing on low speed with an electric mixer or gently by hand with a spatula. The key here is to mix only until the flour streaks have disappeared. Overmixing can develop the gluten in the flour too much, leading to tough cupcakes. A light hand will ensure your red velvet batter remains tender and airy, producing a wonderfully moist texture. Scrape down the sides of the bowl periodically to ensure all ingredients are incorporated evenly. This gentle blending technique is vital for achieving the desired crumb and a truly decadent dessert experience.
Aim for Perfect Batter Consistency
After combining your wet and dry ingredients, you should have a batter that is smooth, thick, and consistent, but still pourable. It shouldn’t be too runny or too stiff. The perfect consistency will hold its shape slightly when dropped from a spoon but will still spread evenly in the cupcake liners. If your batter appears too thick, a tiny splash of additional buttermilk can help, but add it very sparingly. Conversely, if it seems too thin, you might have overmixed or your measurements were slightly off. A well-balanced batter consistency is essential for an even rise and uniform texture throughout the baking process. This attention to detail ensures that each of your homemade treats, whether it’s these cupcakes or even a Snickerdoodle Cobbler, bakes beautifully and consistently.
Baking Decadent Red Velvet Cupcakes
Baking is where the magic happens, transforming your carefully prepared batter into irresistible red velvet cupcakes. The accuracy of your oven, the amount of batter in each liner, and your vigilance during the bake time all play significant roles in the final outcome. These baking tips are crucial for achieving that perfect rise, tender texture, and golden-brown edges. Resist the urge to open the oven door frequently, as sudden temperature drops can cause your cupcakes to sink. Patience and attention to detail at this stage will reward you with beautifully baked, moist cupcakes that are a true decadent dessert.
Fill Liners Two-Thirds Full
To ensure your red velvet cupcakes bake evenly and achieve that beautiful domed top without overflowing, it’s critical to fill each cupcake liner approximately two-thirds full. Using an ice cream scoop or a measuring cup can help you achieve consistent portions across all your liners. This consistency is not just for aesthetics; it also ensures that all cupcakes bake at roughly the same rate, preventing some from being undercooked while others are overbaked. Filling them too full risks spillage in the oven and uneven baking, while filling them too little might result in small, dry cupcakes. This precise filling method is one of the straightforward baking tips that can significantly improve the quality of your homemade treats.
Monitor Baking Time Carefully
Once your filled cupcake liners are in the preheated oven, careful monitoring of the baking time is essential. Red velvet cupcakes typically bake for 18-22 minutes at 350°F (175°C), but oven temperatures can vary significantly. Begin checking for doneness around the 18-minute mark. A reliable test is to insert a toothpick into the center of a cupcake; if it comes out clean or with a few moist crumbs attached (but no wet batter), your cupcakes are ready. Another indicator is when the tops spring back lightly to the touch. Avoid overbaking, as this is the primary cause of dry cupcakes. Once baked to perfection, remove the muffin tin from the oven and allow the cupcakes to cool in the pan for a few minutes before transferring them to a wire rack. This critical step ensures a delightful texture, consistent with best practices across various baking methods.
Cooling Your Delicious Cupcakes
After the exciting moment of pulling your freshly baked red velvet cupcakes from the oven, the crucial step of cooling often gets overlooked in the rush to frost and enjoy. However, proper cooling is just as important as the baking itself for the final texture and stability of your decadent dessert. Skipping this step can lead to a less than ideal experience, potentially resulting in soggy cupcakes or melted frosting. A little patience at this stage ensures that your homemade treats reach their full potential, delivering that moist and tender crumb you worked so hard to achieve.
Allow Complete Cool-Down
Once your red velvet cupcakes have baked and spent a few minutes cooling in the muffin tin, gently transfer them to a wire cooling rack. It is absolutely imperative that they cool completely before you even think about applying frosting. Attempting to frost warm cupcakes will result in the frosting melting into a gooey mess, sliding off the sides, and creating an unappealing presentation. More importantly, residual heat trapped inside the cupcakes continues the cooking process and can lead to a dense, gummy texture if not allowed to dissipate. A wire rack allows air to circulate around all sides of the cupcakes, promoting even and complete cooling. Depending on your kitchen’s temperature, this process can take anywhere from 30 minutes to over an hour. Patience here guarantees a stable base for your cream cheese frosting and preserves the tender, moist crumb of your red velvet recipe. This step is a non-negotiable part of creating truly perfect moist cupcakes.
Perfecting Your Red Velvet Finish
The grand finale for any red velvet cupcake is its signature frosting. It’s what truly defines the flavor profile and adds to the decadent dessert experience. A rich, tangy frosting provides the perfect counterpoint to the subtle chocolate notes of the cake, creating a harmonious balance that delights the palate. Beyond taste, the frosting and finishing touches also contribute significantly to the visual appeal, making these homemade treats as delightful to look at as they are to eat. Achieving this perfect finish requires attention to both flavor and presentation, elevating your red velvet recipe to bakery-quality standards.
Best Frosting for Richness
The undeniable king of red velvet cupcake toppings is cream cheese frosting. Its tangy, slightly sweet, and utterly rich profile perfectly complements the subtle cocoa and buttermilk notes of the cake. A classic cream cheese frosting typically consists of softened cream cheese, unsalted butter, powdered sugar, and a touch of vanilla extract. The key to a smooth, pipeable frosting is ensuring your cream cheese and butter are at room temperature and beating them together until light and fluffy before gradually adding the powdered sugar. This prevents lumps and creates an airy texture. For inspiration on achieving that perfect frosting, and to learn more about its historical context, you can explore the Wikipedia page on Cream Cheese Frosting. This rich, smooth frosting is what truly makes a red velvet cupcake a special and indulgent treat, completing the flavor profile of your moist cupcakes.
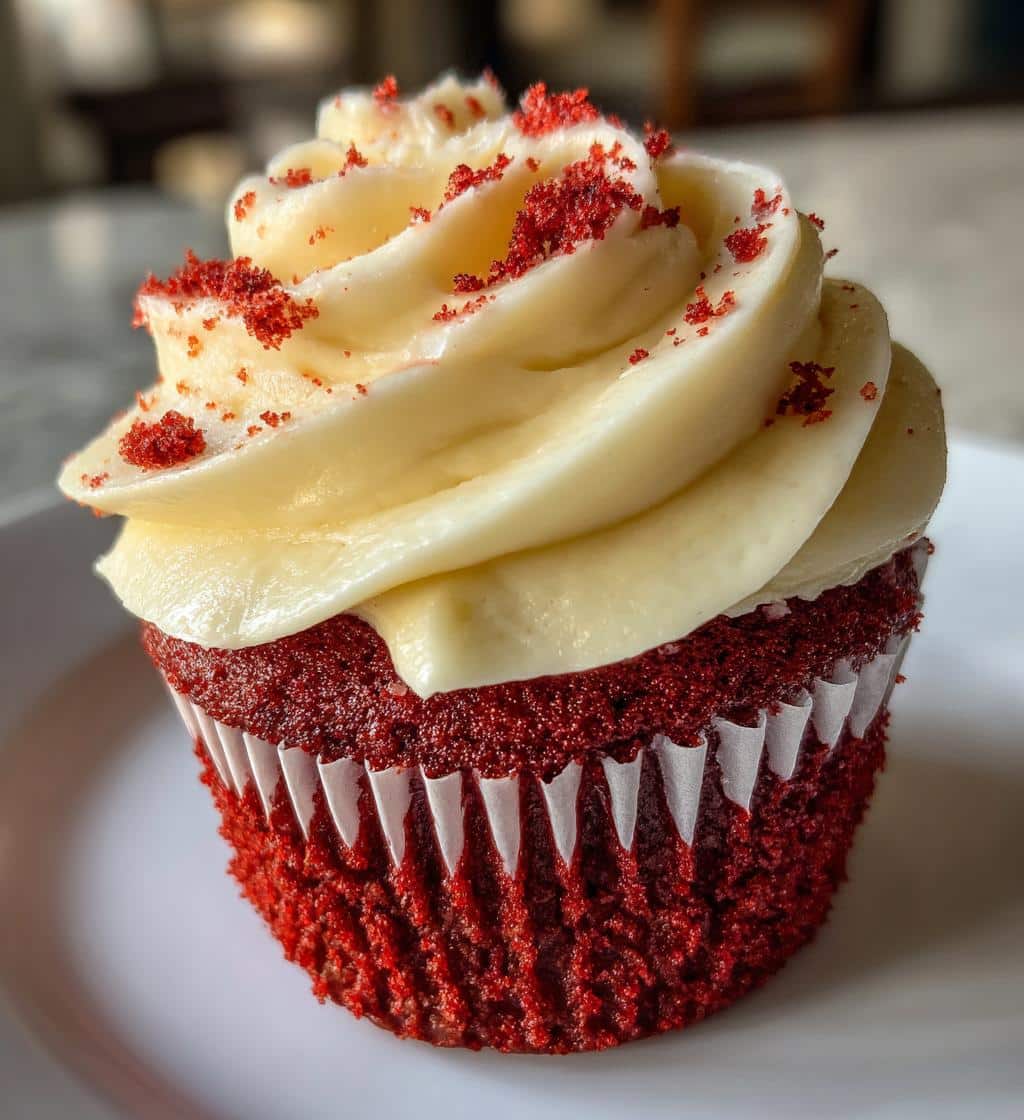
Tips for Vibrancy
Beyond the delicious flavor, the visual appeal of red velvet cupcakes is paramount. To achieve a vibrant and polished finish, ensure your frosting is smooth and free of air bubbles. You can achieve this by beating it on low speed for a few minutes after all ingredients are incorporated. For piping, use a large star tip to create an elegant swirl or simply spread it generously with an offset spatula. Garnish with a sprinkle of red velvet cake crumbs, a few chocolate shavings, or even a fresh raspberry for an extra pop of color and texture. These small touches add to the overall presentation, making your cupcakes truly Instagram-worthy. For visual inspiration and to see how others style their gorgeous cupcakes, don’t hesitate to check out Carina Recipes on Instagram. Consider making other delightful treats like Vanilla Bean Crème Brûlée Cheesecake Cupcakes if you enjoy intricate frosting work and decadent flavors.
Storing Red Velvet Freshness
After all the effort you’ve put into baking and frosting your red velvet cupcakes, ensuring their freshness for continued enjoyment is crucial. Proper storage not only preserves their delicious taste and moist texture but also prevents the cream cheese frosting from spoiling. Improper storage can quickly lead to dry cupcakes or a compromised topping, diminishing the quality of your hard work. By following a few simple guidelines, you can extend the shelf life of your homemade treats, allowing you to savor every bite of this decadent dessert for longer.
Airtight Container for Longer Enjoyment
The best way to maintain the freshness and moisture of your red velvet cupcakes is to store them in an airtight container. This prevents air exposure, which can dry out the cake and harden the frosting. Because cream cheese frosting contains dairy, these cupcakes are best stored in the refrigerator. Place the cooled and frosted cupcakes in a single layer within the container to prevent the frosting from getting smushed. If you need to stack them, place a layer of parchment paper between tiers to protect the frosting. When stored correctly in the refrigerator, red velvet cupcakes can remain fresh and delicious for 3-5 days. If you plan to serve them, allow them to come to room temperature for about 15-30 minutes before serving, as this enhances the flavor and texture of both the cake and the cream cheese frosting. For a fresh bite, always use proper storage techniques, ensuring your moist cupcakes remain perfect.
Recipe Snapshot: Time and Servings
Having a clear understanding of the time commitment and expected yield before you begin a baking project is incredibly helpful. This recipe snapshot provides you with a quick overview, allowing you to plan your baking session efficiently, whether you’re making these red velvet cupcakes for a casual gathering or a special occasion. Knowing the total duration and how many delicious homemade treats to expect helps manage your expectations and ensures you have enough time set aside. It’s a quick reference to prepare for this indulgent decadent dessert.
Quick Look at Total Times
This red velvet recipe is designed to be manageable without feeling rushed, making it a perfect project for bakers of all skill levels. The total preparation time, including measuring and mixing all ingredients, typically ranges from 25 to 35 minutes. This accounts for the care needed in sifting dry goods and whisking wet components smoothly. The baking time in a preheated oven is usually between 18 to 22 minutes, depending on your oven’s calibration and the size of your cupcake wells. Finally, the crucial cooling time, which is essential before frosting, can take anywhere from 30 minutes to 1 hour, or even longer on a warm day. Factoring in these stages, you can expect the entire process from start to finish to be around 1 hour 15 minutes to 2 hours, making it a delightful weekend baking activity or a relatively quick dessert preparation. For another dessert that offers a quick turnaround, consider a Quick Italian Cream Cake.
How Many Cupcakes Per Batch
A standard batch of this red velvet cupcake recipe will yield approximately 12 perfectly sized cupcakes. This quantity is ideal for a small family gathering, a dinner party, or simply for having a few delicious treats on hand throughout the week. If you’re hosting a larger event or want to prepare extra for freezing, you can easily double the recipe. Just ensure you have enough muffin tins and adjust your baking time slightly if baking multiple trays simultaneously, as crowded ovens can sometimes affect baking consistency. Planning for the right number of moist cupcakes ensures everyone gets to enjoy this classic decadent dessert.
Red Velvet Cupcake Nutrition Facts
While red velvet cupcakes are undoubtedly a decadent dessert, many bakers and eaters appreciate a general understanding of the nutritional components. It’s important to remember that these figures are estimates and can vary based on specific ingredient brands, exact measurements, and frosting portions. This information isn’t meant to deter enjoyment but rather to provide a transparent overview for those who like to keep track of their dietary intake, even when indulging in delicious homemade treats.
Calories, Sugar, and Fat Content
A single red velvet cupcake with cream cheese frosting typically contains a notable amount of calories, sugar, and fat. On average, one frosted red velvet cupcake can range from 300 to 450 calories, largely due to the sugar content in both the cake and frosting, as well as the butter and oil. The sugar content can be around 30-50 grams per cupcake, while fat content might be in the range of 15-25 grams, depending on the richness of the frosting and the amount of oil or butter used in the cake. These figures highlight why red velvet cupcakes are considered an indulgent treat rather than an everyday snack. Adjustments to ingredients, such as reducing sugar slightly or using a lighter oil, can marginally impact these values in your red velvet recipe.
Protein and Carbohydrate Values
Regarding protein and carbohydrate values, red velvet cupcakes primarily contribute carbohydrates due to the flour and sugar. A single cupcake might contain approximately 40-60 grams of carbohydrates. Protein content is relatively lower, typically around 3-5 grams per cupcake, primarily from the eggs and dairy in the buttermilk and cream cheese. While these cupcakes aren’t a significant source of daily protein, they offer an energy-rich treat. Bakers can make informed choices by understanding these nutritional aspects, ensuring that their delicious homemade treats fit within their dietary preferences. Always remember that these are general estimates, and actual values can vary.
Helpful Notes for Bakers
Baking is both an art and a science, and sometimes a few extra tips can make all the difference between a good cupcake and a truly spectacular one. These helpful notes aim to address common queries and offer specific advice to enhance your red velvet baking experience. Whether you’re a novice or an experienced baker, these insights can help you refine your technique and ensure your red velvet recipe consistently yields perfect moist cupcakes that impress everyone.
Achieve Deeper Red Color
The iconic deep red color is a defining characteristic of red velvet cupcakes. Achieving this vibrant hue can sometimes be a challenge, as different brands of food coloring vary in intensity. For the most striking results, it is highly recommended to use a gel food coloring over liquid varieties. Gel colors are concentrated, requiring less product to achieve a vivid shade without altering the consistency of your batter. Start with a smaller amount and gradually add more until you reach your desired deep red. Some traditional recipes also rely on the reaction between cocoa powder, buttermilk, and vinegar to enhance the red undertones naturally, though modern recipes often supplement with ample food coloring. Ensure your cocoa powder is unsweetened and natural, as Dutch-processed cocoa can react differently with the leavening agents. For more visual inspiration and diverse recipe takes on achieving the perfect red, check out the Carina Recipes board on Pinterest. Experimentation with food coloring is key to perfecting your red velvet recipe’s visual appeal, making your decadent dessert truly stand out.