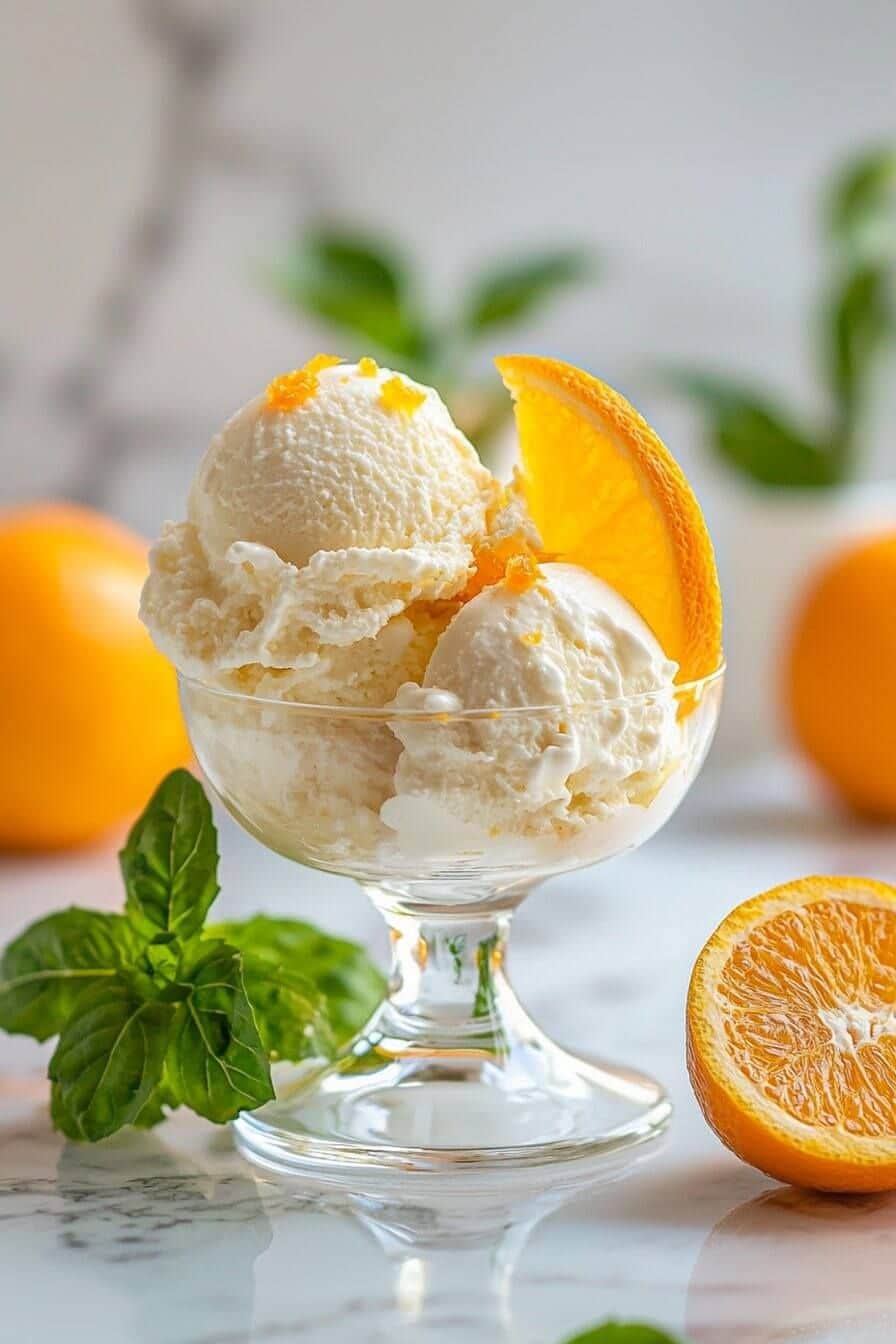
Easy 2-Ingredient Orange Sherbet offers a delightful, simple way to enjoy a refreshing frozen treat. This no-fuss recipe uses just two main ingredients to create a creamy, sweet dessert perfect for hot days. You will love how straightforward this homemade sherbet is to make.
Key Takeaways
- Make a creamy orange sherbet with just two main ingredients: orange soda and sweetened condensed milk.
- This recipe requires no cooking and minimal active preparation time, making it incredibly simple.
- You can create delicious sherbet using an ice cream maker or a no-churn method.
- For the no-churn method, stir the mixture hourly while freezing to prevent ice crystals and ensure a smooth texture.
- Chill your orange soda before mixing for the best results and to reduce foam.
- Store homemade sherbet in an airtight container to maintain freshness and prevent freezer burn.
Making homemade sherbet is surprisingly simple. Two ingredients create magic. No special skills are required. Enjoy a refreshing frozen treat. It’s perfect for summer fun.
Make Easy 2-Ingredient Orange Sherbet
Craving a delightful frozen treat that’s both simple to make and incredibly satisfying? Look no further than this easy 2-ingredient orange sherbet recipe. It promises a burst of citrusy flavor and a wonderfully creamy texture, all with minimal effort. This recipe stands out because it strips away all the complexities of traditional frozen desserts, proving that you don’t need a pantry full of ingredients or hours in the kitchen to create something truly special. It’s the perfect solution for busy schedules or those new to homemade treats, offering instant gratification with a homemade touch.
What is This Delicious Treat?
This delicious treat is a vibrant, tangy, and sweet orange sherbet that perfectly balances fruity zest with a smooth, cool finish. Unlike ice cream, which relies heavily on cream, sherbet typically contains a smaller amount of dairy, focusing more on fruit and sugar. Our version simplifies this further by leveraging the fizz and flavor of orange soda combined with the richness of sweetened condensed milk. The result is a lighter yet indulgent dessert that melts in your mouth and leaves you feeling refreshed. It’s a nostalgic flavor with a modern, easy-to-achieve twist.
No Cooking Needed for Sherbet
One of the most appealing aspects of this orange sherbet recipe is that it requires absolutely no cooking. Forget about tempering eggs, simmering custards, or chilling mixtures overnight. With this method, you simply combine the two main ingredients, and they’re ready for chilling. This no-cook approach significantly cuts down on preparation time and simplifies the entire process, making it accessible to cooks of all skill levels. It’s a fantastic option for impromptu gatherings, quick cravings, or when you just want a straightforward dessert without any fuss.
Why This Recipe is So Simple
The beauty of this orange sherbet recipe lies in its sheer simplicity, proving that incredible flavors don’t always demand intricate methods. Many traditional frozen desserts involve multiple steps, precise temperature control, and often a lot of waiting. This recipe, however, streamlines the entire process down to its core, making it an ideal choice for beginners and experienced home cooks alike. The minimal ingredient list and straightforward preparation mean you spend less time in the kitchen and more time enjoying your homemade treat. It’s truly a testament to how creative ingredient choices can revolutionize the dessert-making experience.
Just Two Main Ingredients
The magic starts with just two main ingredients: orange soda and sweetened condensed milk. That’s it! This brevity not only simplifies shopping but also ensures a consistent and easy-to-manage mixture. Orange soda provides the characteristic citrus flavor and a hint of effervescence, while sweetened condensed milk adds the creamy texture and necessary sweetness, eliminating the need for separate sugar and dairy products. This smart combination does all the heavy lifting, creating a perfectly balanced base for your sherbet. For more simple yet satisfying meals, check out this Creamy Baked Mac and Cheese recipe.
Quick Active Preparation Time
Beyond the simple ingredient list, the active preparation time for this orange sherbet is remarkably quick. You’re looking at mere minutes of stirring before your mixture is ready for the freezer or ice cream maker. There’s no chopping, blending, or intricate layering involved. This speed makes it an excellent choice for last-minute dessert needs or when you want a homemade treat without dedicating a significant portion of your day to it. The minimal hands-on time means you can whip up a batch, put it to chill, and carry on with your day, returning later to a delicious, ready-to-enjoy dessert.
Gather Ingredients to Make Orange Sherbet
Before you dive into mixing, ensuring you have the right ingredients and tools will set you up for success. This preparation stage is simple, aligning perfectly with the overall ease of the recipe. A quick check of your pantry and kitchen equipment will confirm you’re ready to create this delightful frozen treat. While the ingredient list is minimal, selecting the right items can make a difference in the final taste and texture of your homemade orange sherbet. Think of it as a small investment in maximizing the deliciousness of your upcoming dessert experience.
Orange Soda and Sweet Milk
The stars of this recipe are, of course, the orange soda and sweetened condensed milk. For the orange soda, any popular brand will work well. Consider using a well-chilled soda; this helps reduce excessive foaming when mixing and contributes to a smoother final texture. Regarding sweetened condensed milk, be sure to grab the sweetened variety, not evaporated milk, as it provides the necessary sweetness and rich consistency for the sherbet. The quality of these two components directly impacts the vibrant flavor and creamy mouthfeel of your finished product. You can find more easy dessert ideas in our desserts category.
Tools You Will Need
Making this sherbet requires minimal specialized equipment. Here’s a quick list of what you’ll likely need:
- Large Mixing Bowl: Essential for combining your ingredients.
- Whisk or Spoon: For gentle stirring to incorporate the soda into the milk.
- Freezer-Safe Container: If using the no-churn method, a shallow pan or loaf pan works perfectly. Ensure it has a lid or can be covered tightly.
- Ice Cream Maker (Optional): If you prefer the churned method, make sure your ice cream maker bowl is thoroughly frozen according to its instructions.
- Spatula: Useful for scraping down the sides of the bowl and transferring the mixture.
Having these simple tools at hand will ensure a smooth and efficient preparation process, letting you focus on the fun part: mixing!
Mixing Your Easy Sherbet Batter
The mixing stage is where your two simple ingredients transform into the base for your future frozen delight. While straightforward, a little attention to detail here ensures the best texture and flavor for your orange sherbet. The goal is to combine the orange soda and sweetened condensed milk thoroughly without over-agitating the soda, which can lead to excessive fizz and a less creamy final product. This step is quick, but it’s crucial for laying the foundation for a perfectly smooth and flavorful treat that will impress your taste buds.
Gentle Stirring Prevents Foam
To begin, pour the can of sweetened condensed milk into your large mixing bowl. Slowly add the chilled orange soda to the milk. As you add the soda, begin to stir gently with a whisk or spoon. The key word here is “gentle.” Rapid or vigorous stirring will cause the carbonation in the soda to release too quickly, creating excessive foam. While a little foam is natural, too much can affect the final texture of your sherbet, making it less dense and potentially icier. Aim for a slow, continuous motion to incorporate the ingredients thoroughly while preserving the effervescence needed for a light, airy quality. Learning about the properties of sherbet powder might provide further insights into foam creation.
Creamy and Bubbly Mixture
Continue stirring until the sweetened condensed milk and orange soda are fully combined and the mixture appears uniform. You’ll notice the color transform into a lovely pale orange, and the consistency will be thicker than just soda, but still pourable. There should be a gentle bubbliness from the soda, indicating that some carbonation has been retained, which contributes to the characteristic light texture of sherbet. Ensure there are no streaks of undissolved milk at the bottom of the bowl. Once fully mixed, your “batter” is ready for the next crucial step: freezing. This perfectly blended base promises a creamy and delightful orange sherbet experience.
Churning Your Sherbet: Ice Cream Maker
For those who own an ice cream maker, this method is typically the fastest way to achieve a smooth, creamy sherbet. The continuous churning action of the machine introduces air while simultaneously freezing the mixture, resulting in a lighter, more consistent texture than manual freezing. If you have an ice cream maker, it’s a fantastic tool for this recipe, making the process even more effortless and yielding professional-quality results. Ensure your machine’s bowl is properly prepped and frozen according to the manufacturer’s instructions for optimal performance and the best sherbet.
Set Machine and Churn
First and foremost, make sure your ice cream maker’s freezer bowl has been pre-frozen for the recommended amount of time, usually 12-24 hours. A properly frozen bowl is crucial for successful churning. Assemble your ice cream maker according to its instructions, then pour your prepared orange sherbet mixture into the frozen bowl. Turn on the machine and let it churn for about 15-25 minutes, or until the mixture thickens to the consistency of soft-serve ice cream. The exact time will vary depending on your machine and the initial temperature of your mixture. Enjoying homemade desserts is always a treat, much like making Snickerdoodle Cobbler.
Firm Up in the Freezer
Once your sherbet has reached a soft-serve consistency, it’s ready for its final firming stage. Transfer the churned sherbet from the ice cream maker bowl into a freezer-safe container. Press a piece of plastic wrap directly onto the surface of the sherbet to prevent ice crystals from forming, then cover the container with an airtight lid. Place the container in the freezer for at least 2-4 hours to allow the sherbet to firm up to a scoopable consistency. If left overnight, you might need to let it soften at room temperature for a few minutes before serving for the perfect scoop.
Make Orange Sherbet Fast Without a Machine
No ice cream maker? No problem! You can still enjoy this delicious homemade orange sherbet using a simple no-churn method. While it requires a bit more active attention during the freezing process, the results are equally delightful and creamy. This approach democratizes homemade frozen treats, making them accessible to everyone regardless of specialized kitchen gadgets. The key to success with the no-churn method lies in understanding the importance of regular stirring, which helps achieve that desirable smooth texture without the aid of a machine’s constant agitation. It’s an effective and rewarding way to create a frozen dessert.
Pour into Freezer Pan
For the no-churn method, begin by pouring your gently mixed orange sherbet batter into a shallow, freezer-safe container. A metal loaf pan or an 8×8-inch baking dish works wonderfully, as the shallow depth helps the mixture freeze more quickly and evenly. Ensure the container is clean and dry before pouring in the mixture. Cover the pan tightly with plastic wrap or aluminum foil, making sure the covering touches the surface of the liquid to minimize ice crystal formation. Place the covered pan into the freezer, ready for the crucial next step of manual agitation.
Stir Hourly to Prevent Ice
The secret to creamy, no-churn sherbet is consistent stirring during the initial freezing stages. After about 1 hour in the freezer, remove the pan and use a fork or whisk to vigorously stir the mixture, breaking up any ice crystals that have started to form around the edges and incorporating them into the softer center. Return the pan to the freezer and repeat this stirring process every 30-60 minutes for the next 3-4 hours, or until the sherbet is firm but still somewhat pliable. This repetitive stirring is vital for creating a smooth, scoopable texture, preventing the formation of large, unpleasant ice shards. Follow Carina Recipes for more quick kitchen tips on Instagram.
Manual Freezing: Key for Creaminess
The manual freezing method, often called the “no-churn” technique, is a fantastic alternative for making smooth, creamy sherbet without an ice cream maker. Its effectiveness hinges on a simple yet crucial action: regular stirring. This hands-on approach might seem a little more involved than simply setting a machine, but the small effort yields significant rewards in texture and consistency. Understanding *why* hourly stirring matters will help you achieve the best possible results, turning a liquid mixture into a delightful, scoopable frozen dessert that rivals machine-made versions.
Why Hourly Stirring Matters
When liquids freeze, water molecules naturally want to align and form large ice crystals. These large crystals are what make homemade frozen treats icy and hard, rather than smooth and creamy. Hourly stirring, particularly during the initial hours of freezing, actively disrupts this crystal formation. By breaking up the developing ice crystals and incorporating them back into the still-liquid parts of the mixture, you force the water to freeze into much smaller, finer crystals. These micro-crystals contribute to a velvety texture that feels smooth on the tongue, preventing that unpleasant crunch often associated with poorly frozen desserts. It’s a simple mechanical trick that has a profound impact on the final product.
Achieve Smooth Sherbet Texture
The continuous breaking down of ice crystals through hourly stirring is the primary reason this manual method results in such a wonderfully smooth sherbet texture. Without this intervention, the water content in the orange soda would freeze into large, distinct ice chunks, making the sherbet hard and unappealing. The sweetened condensed milk helps by adding fat and sugar, which naturally lower the freezing point and contribute to creaminess, but it’s the stirring that truly polishes the texture. By dedicating a little time to this active freezing process, you can achieve a homemade orange sherbet that is deliciously soft, scoopable, and perfectly smooth, ensuring every bite is a delightful experience.
Quick Tips for Perfect Orange Sherbet
While this 2-ingredient orange sherbet recipe is inherently simple, a few quick tips can elevate your creation from good to absolutely perfect. These small adjustments are easy to incorporate into your process and can significantly impact the final flavor and texture. Paying attention to these details ensures that every batch of homemade orange sherbet you make is consistently delicious, creamy, and exactly what you hoped for. Think of them as the little secrets that make a big difference in your frozen dessert endeavors.
Chill Soda Before Mixing
One of the most important yet easily overlooked tips is to ensure your orange soda is thoroughly chilled before you begin mixing. Cold soda reacts less vigorously with the sweetened condensed milk, minimizing excessive fizz and foam. When the soda is warm, the carbonation escapes more rapidly upon contact with another liquid, leading to a much foamier mixture that can be difficult to work with and may result in a less dense sherbet. Starting with a cold soda means a smoother mixing process and a better chance of achieving that ideal creamy texture. This simple pre-step makes a noticeable difference.
Zest for More Flavor
For an extra burst of fresh orange flavor that truly makes your sherbet pop, consider adding some orange zest to your mixture. A teaspoon or two of finely grated orange zest, stirred into the combined soda and sweetened condensed milk, will intensify the citrus notes beautifully. The zest contains concentrated oils from the orange peel, which impart a vibrant, aromatic essence without adding extra liquid or sweetness. This small addition enhances the natural orange taste, making your homemade sherbet even more bright and refreshing. You can learn more about zest as an ingredient on Wikipedia.
Storing Your Homemade Orange Sherbet
After all your efforts in creating this delicious 2-ingredient orange sherbet, proper storage is key to preserving its creamy texture and vibrant flavor. Freezing can be harsh on homemade desserts, often leading to ice crystals or freezer burn if not handled correctly. A little attention to how you store your sherbet will ensure that every scoop, whether on day one or day five, is just as delightful as the first. Protecting your frozen treat from the elements of the freezer is essential for extended enjoyment.
Use an Airtight Container
To keep your homemade orange sherbet fresh and free from ice crystals, always store it in an airtight container. Plastic or glass containers with tight-fitting lids are ideal. Air is the enemy of frozen desserts, as it contributes to the formation of large ice crystals and freezer burn, which can compromise both texture and flavor. For an extra layer of protection, press a piece of plastic wrap directly onto the surface of the sherbet before sealing the container. This creates a barrier against air and helps maintain that desirable smooth, creamy consistency.
How Long Does It Last?
When stored properly in an airtight container, homemade orange sherbet can typically last in the freezer for up to two to three weeks. While it may technically be safe to eat for longer, its quality, particularly its smooth texture and fresh flavor, tends to diminish after this period. The longer it sits, the more prone it is to developing larger ice crystals, even with the best storage practices. For the best experience, aim to enjoy your freshly made sherbet within the first week. This ensures you’re always savoring it at its peak deliciousness and texture.
Fun Flavor Variations to Try
The beauty of this 2-ingredient sherbet recipe is its versatility. While orange is a classic and delightful starting point, the simple formula opens up a world of possibilities for flavor variations. Once you’ve mastered the basic orange version, don’t hesitate to get creative and experiment with different sodas to create a personalized range of frozen treats. Expanding beyond the original flavor is a fun way to keep this easy recipe exciting and tailored to different tastes and occasions, ensuring there’s always a new, refreshing sherbet to enjoy.
Experiment with Different Sodas
The core of this recipe relies on the flavor and carbonation of the soda. This means you can easily swap out the orange soda for other fruity carbonated beverages to create entirely new sherbet experiences. Consider trying: grape soda for a vibrant purple treat, lemon-lime soda for a zesty, refreshing option, or even cherry cola for a unique twist. The possibilities are vast! Just ensure your chosen soda is a flavor you enjoy, as it will be the dominant taste in your sherbet. This flexibility makes the recipe a fantastic base for endless frozen dessert creativity. You could even pair it with Balsamic Strawberry Caprese for a fruit-filled dessert ensemble.
Create Sherbet Floats
Beyond simply eating it by the scoop, your homemade orange sherbet is perfect for creating classic and delightful sherbet floats. Simply place a scoop or two of your freshly made sherbet into a glass and top it with a complementary carbonated beverage. For an extra orange kick, use more orange soda, or try lemon-lime soda for a creamsicle-like experience. You can even experiment with sparkling water for a lighter option. Sherbet floats are a fun, nostalgic way to serve this frozen treat, adding an extra layer of fizz and enjoyment to any occasion, especially during warmer months.
Troubleshooting Your Sherbet Questions
Even with a simple recipe, questions can arise. Understanding how to troubleshoot common issues with homemade sherbet can save your dessert and ensure you achieve the best possible results every time. Whether your sherbet isn’t quite as soft as you’d like or it’s developed an icy texture, there are usually simple solutions. Knowing the “why” behind these problems empowers you to adjust your technique or ingredients for future batches, leading to consistent success and perfectly creamy, delicious frozen treats.
What if Sherbet is Too Hard?
If your homemade orange sherbet turns out too hard to scoop directly from the freezer, don’t worry—this is a common issue. The simplest solution is to let it soften at room temperature for 5-15 minutes before serving. The exact time will depend on how hard it is and the ambient temperature. For future batches, ensure you’re using full-fat sweetened condensed milk, as fat contributes to a softer texture. Additionally, if you used the no-churn method, ensure you stirred frequently enough to break down ice crystals. A slightly higher sugar content can also help prevent excessive hardness, though the provided recipe balances this well. Find more creative dessert ideas on Carina Recipes’ Pinterest.
Why is My Sherbet Icy?
An icy texture in sherbet usually indicates that large ice crystals have formed. This can happen for several reasons. If you used the no-churn method, the most common culprit is insufficient or infrequent stirring during the initial freezing hours. The stirring action is critical for breaking up ice crystals and ensuring a smooth consistency. Another factor could be too much water content relative to sugar and fat; ensure your ingredients are correctly measured. Also, make sure your container is airtight during freezing, as exposure to air can promote ice crystal formation. Pre-chilling your soda can also help, as warmer liquids encourage faster ice crystal growth.
Serve and Enjoy Your Frozen Treat
After all the anticipation, the moment has arrived to serve and savor your homemade 2-ingredient orange sherbet. This final step is just as enjoyable as the making process, offering a refreshing reward for your minimal efforts. Presenting your frozen treat beautifully and knowing how to get the perfect scoop can enhance the entire experience, making it even more satisfying. Whether it’s for a casual family dessert or a special occasion, your homemade sherbet is ready to bring smiles and cool delight to everyone.
Let Soften for Scooping
For the ideal serving experience, your homemade orange sherbet will likely need a few minutes to soften after being taken directly from the freezer. Sherbet, especially homemade versions, can be quite firm when fully frozen. Simply remove the container from the freezer and let it sit at room temperature for about 5 to 10 minutes. This brief period allows the edges to soften slightly, making it much easier to scoop out perfect, smooth spheres. Resist the urge to microwave it, as uneven heating can ruin the texture. Patience will be rewarded with effortlessly scoopable, creamy sherbet.
Perfect for Any Occasion
This easy 2-ingredient orange sherbet is incredibly versatile and makes a perfect treat for virtually any occasion. Its bright, refreshing flavor is particularly well-suited for warm weather gatherings, backyard barbecues, or as a light dessert after a rich meal. But it’s equally delightful as a simple, everyday indulgence. Serve it in bowls, cones, or as part of a fun sherbet float. It’s a crowd-pleaser that appeals to both kids and adults, offering a burst of sunshine in every spoonful. Enjoy the simplicity and deliciousness you’ve created!